Setting up a Wind Simulation
Create a New Project
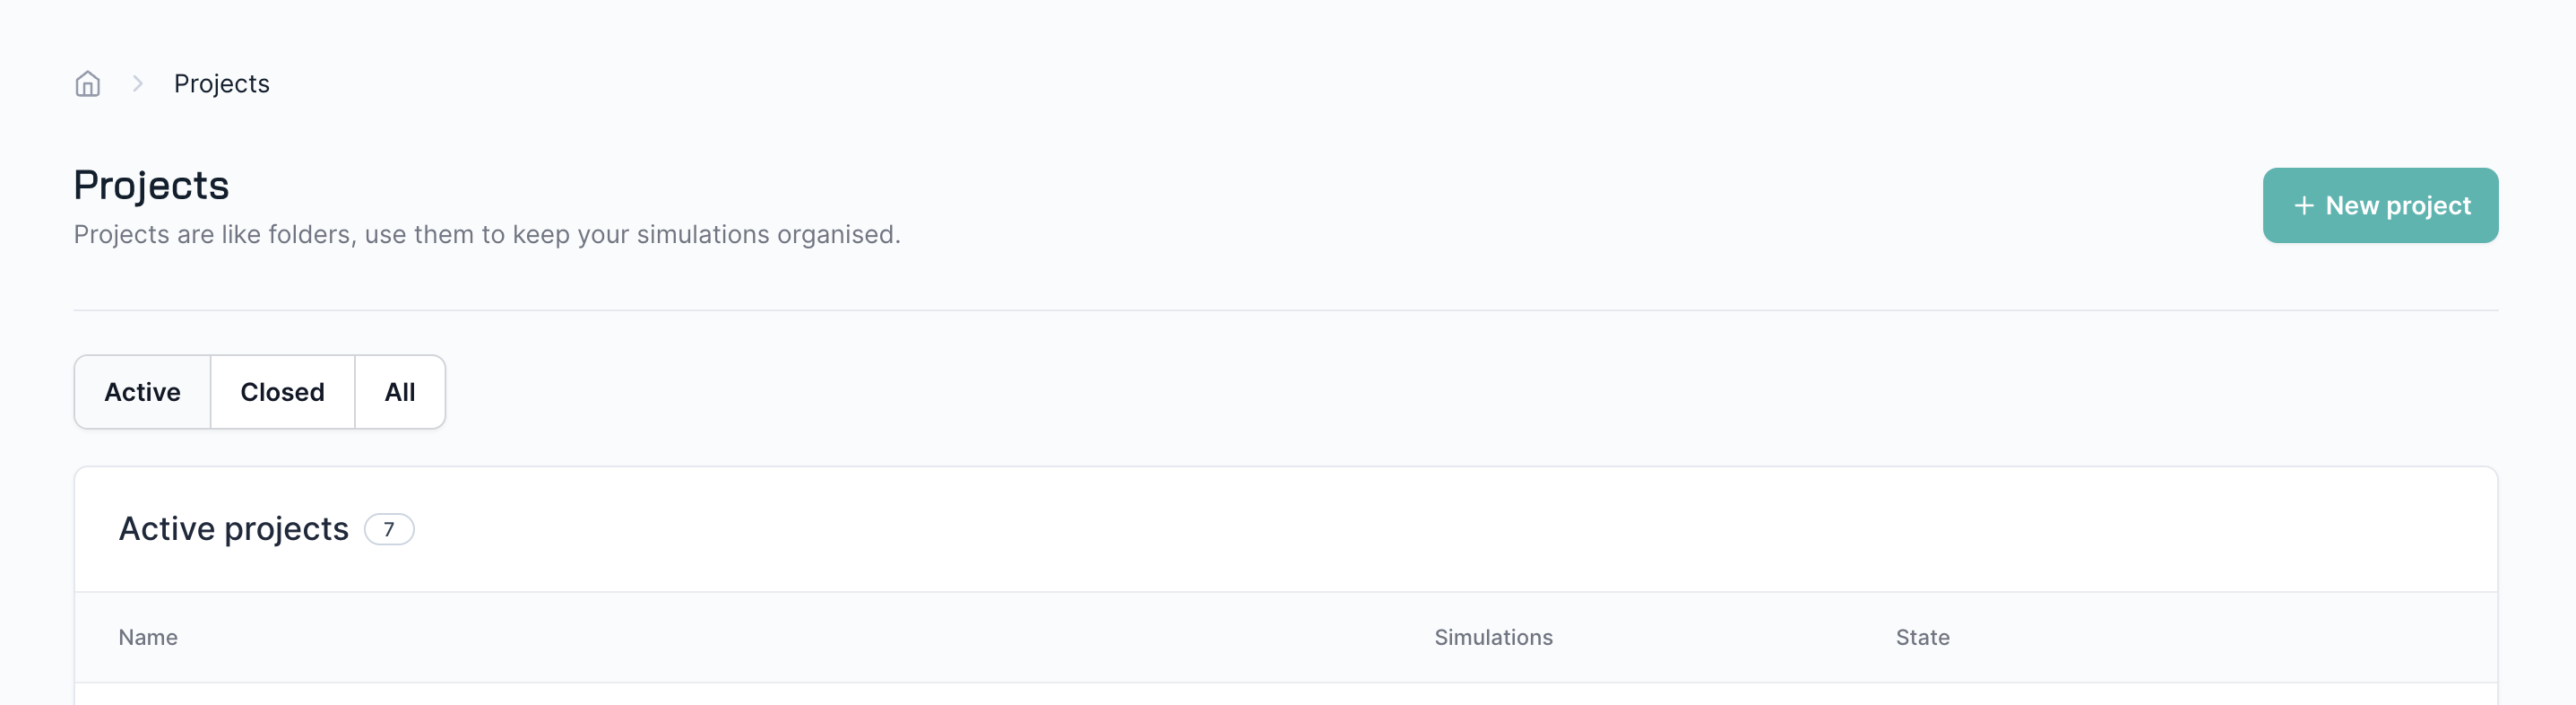
After signing in to your ArchiWind account, you’ll see your project list. Before creating a new simulation, you must create or select a project to manage related simulations. For example, you might create a project for a new case study.
When creating a project, you can optionally geolocate it by providing the geographical coordinates of the site (decimal latitude and longitude, WGS84 EPSG:4326). If you don’t have these coordinates, use Google Maps to find and select a location close to the center of your site: right click on the point of interest to read its coordinates.
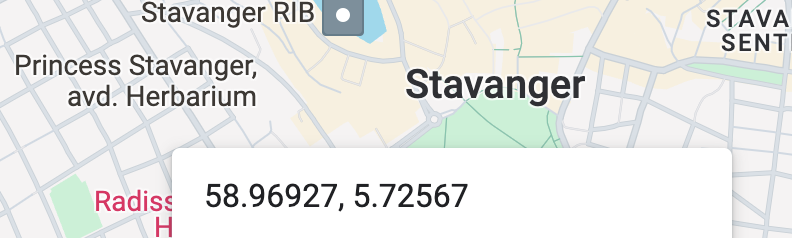
Coordinates are set once at the project level and inherited by every simulation created inside that project. This location is used to pull wind statistics and meteorological data from the ERA5 worldwide database - see Upload wind statistics. The EPSG code for the coordinate reference system used by your geometry files (needed to produce georeferenced results) is also selected at project creation, not per simulation.
A project does not need to be geolocated. If you leave it without coordinates, ArchiWind has no way to fetch wind data automatically for its simulations, so you will be required to upload your own wind data source file (EPW, UrbaWind, or TIM) instead.
Create a New Simulation
Click the button to start creating a new simulation.
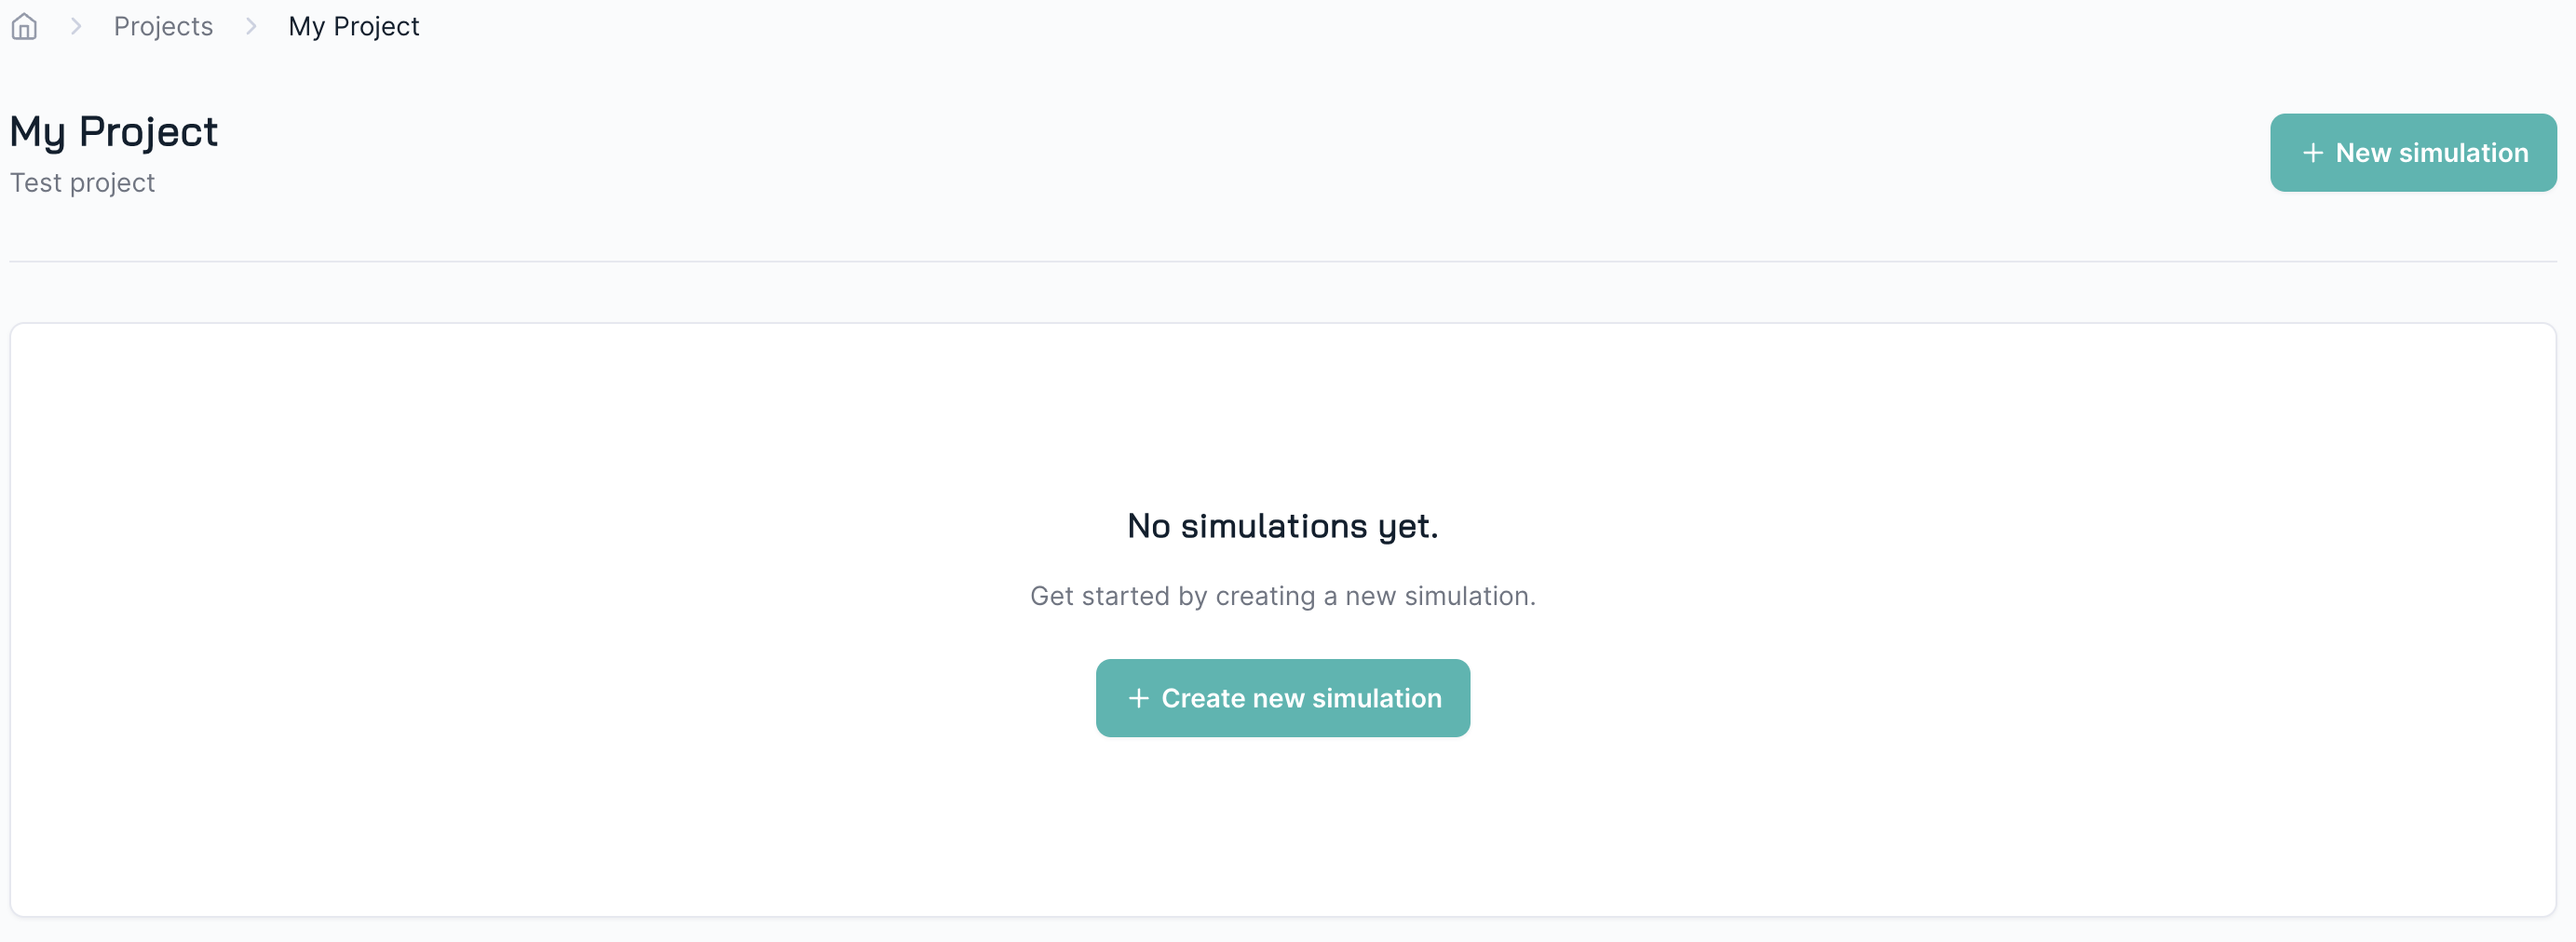
If your project has existing simulations, you’ll see them here.
Configure Your Simulation
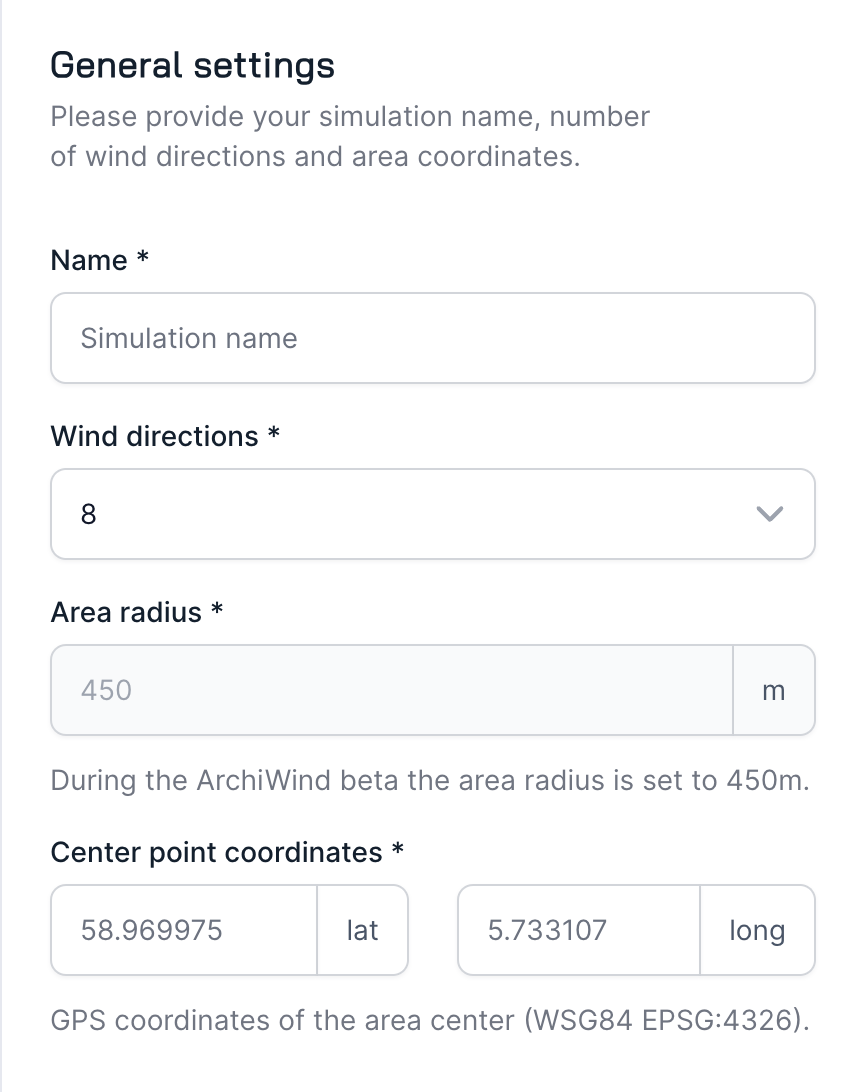
Next, fill out the General Simulation Settings:
- Name: Give your simulation a name. This will be its main identifier in the results pages and reports, so make it compact but descriptive.
- Number of Wind Directions: 8, 12, or 16, depending on the applicable standard. One simulation runs for each wind direction.
- Area: The default area is set to a 450m radius, which aligns with industry standards. This ensures that the terrain and surroundings fill the surface adequately, including enough of the context around the building for accurate computation. You can choose to simulate a smaller radius if necessary.
The simulation uses the coordinates set on its parent project to pull wind statistics and meteorological data. If the project is not geolocated, you will be prompted to upload a wind data source file for the simulation instead — see Upload wind statistics.
You can also enter a custom upstream roughness per wind sector (8, 12, or 16 values, depending on the applicable standard). Filling them in is optional, and you can fill only some of them. Empty sectors use the land-cover roughness for geolocated projects, or a default of 0.03 m for non-geolocated ones — see Direction-Dependent Roughness.
Upload Your Model
Upload the geometries in the appropriate category. We will mesh your building of interest, surrounding context, and terrain differently. To optimize your use of ArchiWind, read Prepare Your Input Geometries. ArchiWind accepts geometries in STL or OBJ format.
In the additional settings, import trees to be simulated as porous media, which slow down the wind. This feature is useful for testing and improving your mitigation strategies. For more details, read Simulating Trees.
ArchiWind does not change the coordinate system of your models. If your buildings are correctly placed in your export, they should appear correctly in the viewer. If not, please contact us at [email protected].